Wednesday 26 January 2011

Homemade Paper - First Results

Here are my first experiments with the paper, I especially like the tree one.


I found that with the delicacy of the paper the knife tended to drag and rip the paper but I quite like this effect.


The below image is  not the best looking but  decided to experiment with a couple of ideas, bleeding ink into the ripped edges and laminating the cutout (but with an iron and a poly pocket).  Still undecided as to wether I like either effects, I think I need to try some more of these.


Put my paper through the printer, pattern created on photoshop (shapes inspired by birds).  Then cut out some of the shapes.  The light reacts differently to the paper which has been printed on, which is a great effect.


Homemade Paper How to...

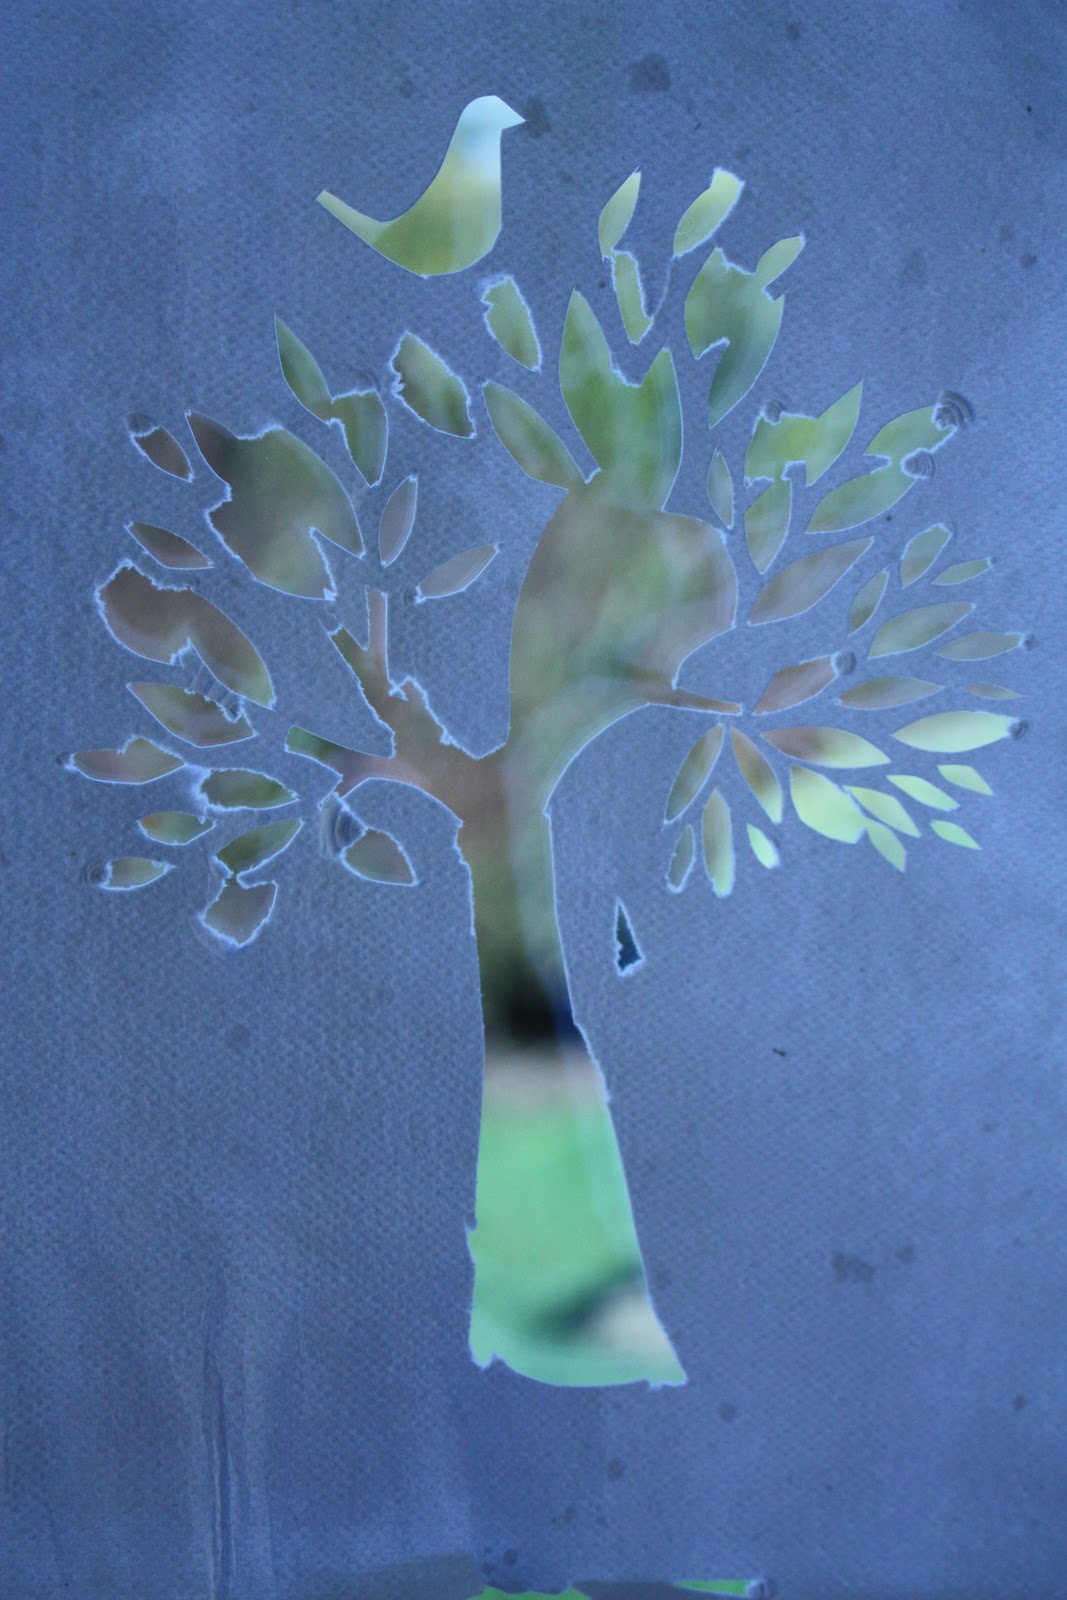
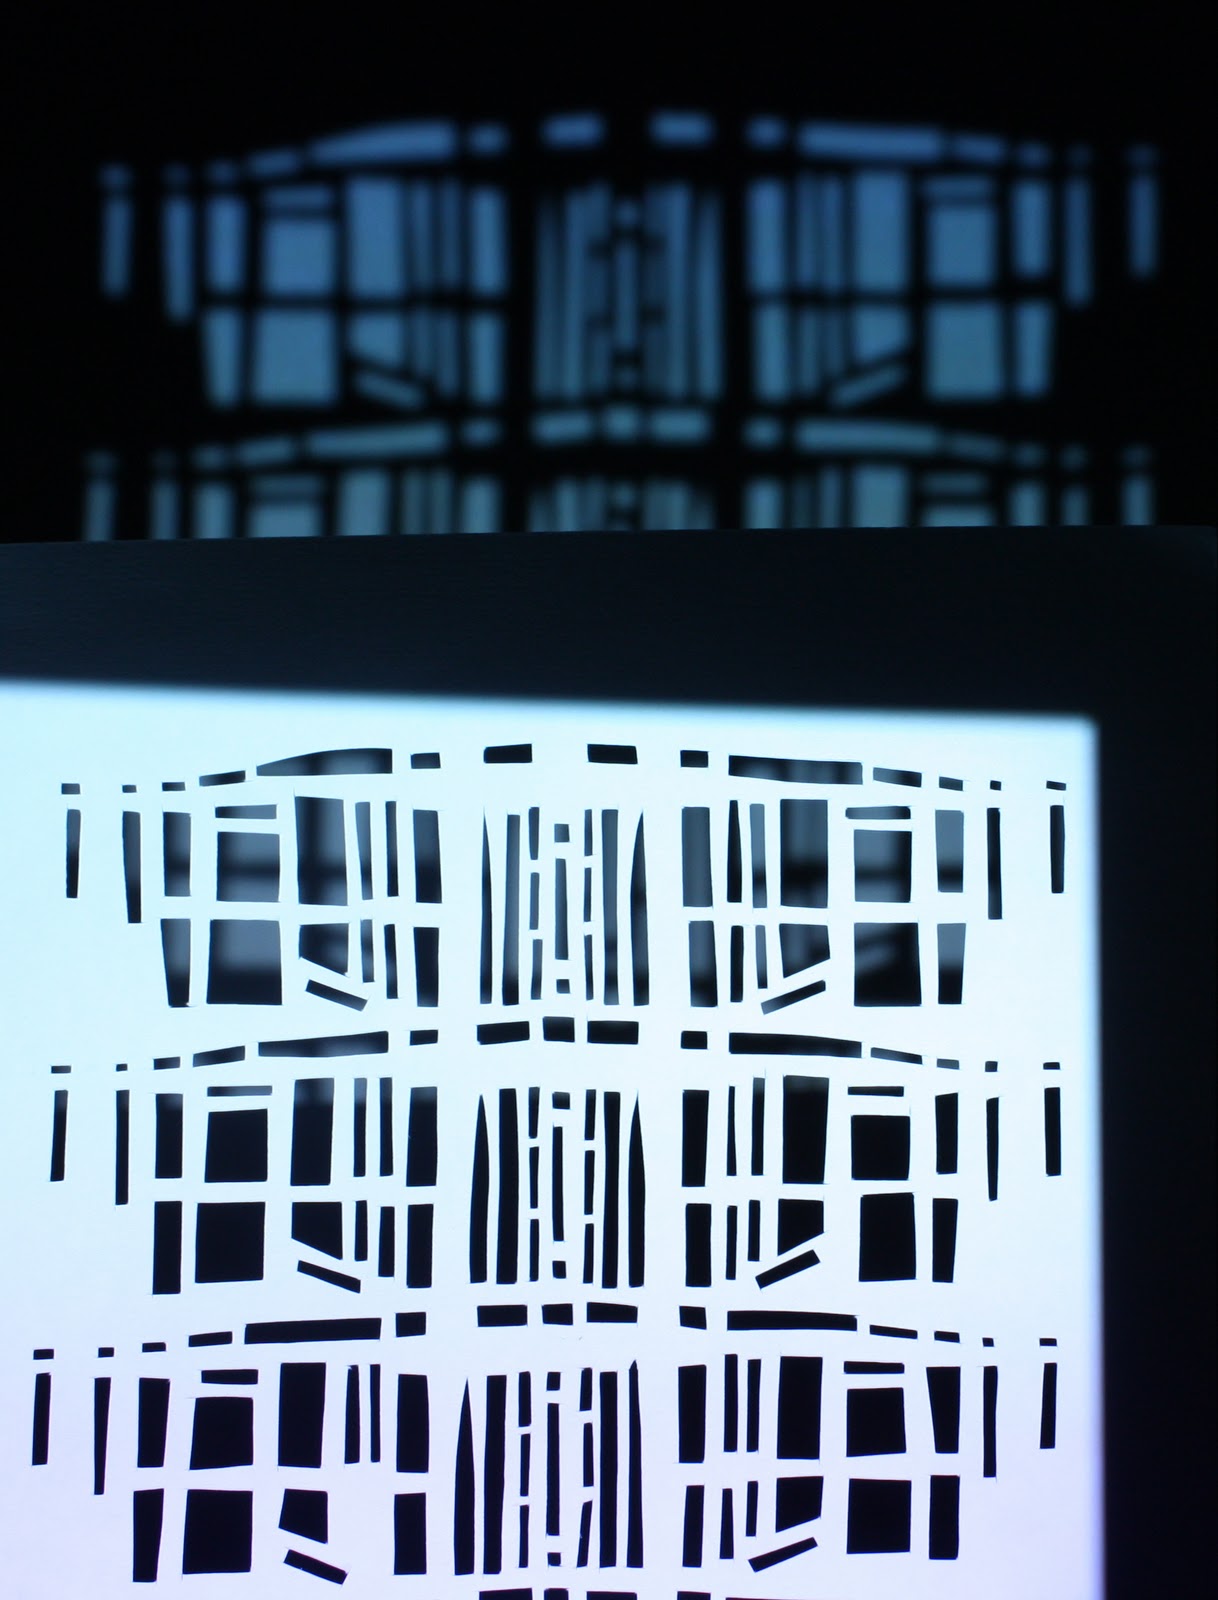
Decided to take my cutting further and make the paper I cut into.


Turned out to be harder than I thought but I think I got some good results.  I brought a basic A4 paper making kit from amazon instead of creating my own mould etc.


Soak Paper overnight in warm water, once the paper breaks apart in your hands it is ready to use.  I used about 10 sheets of A4 printing paper.  Thicker papers may take longer.


Put soaked paper into blender (all i had was hand processor which works fine) and blend with enough water to create a runny porridge consistency.


Fill bowl/sink (container needs to be big enough so the frame can lie flat and be wiggled around a little) with warm water and add blended pulp.  Also add about a tablespoon full of PVA glue.  Stir mixture up to bring pulp to surface.


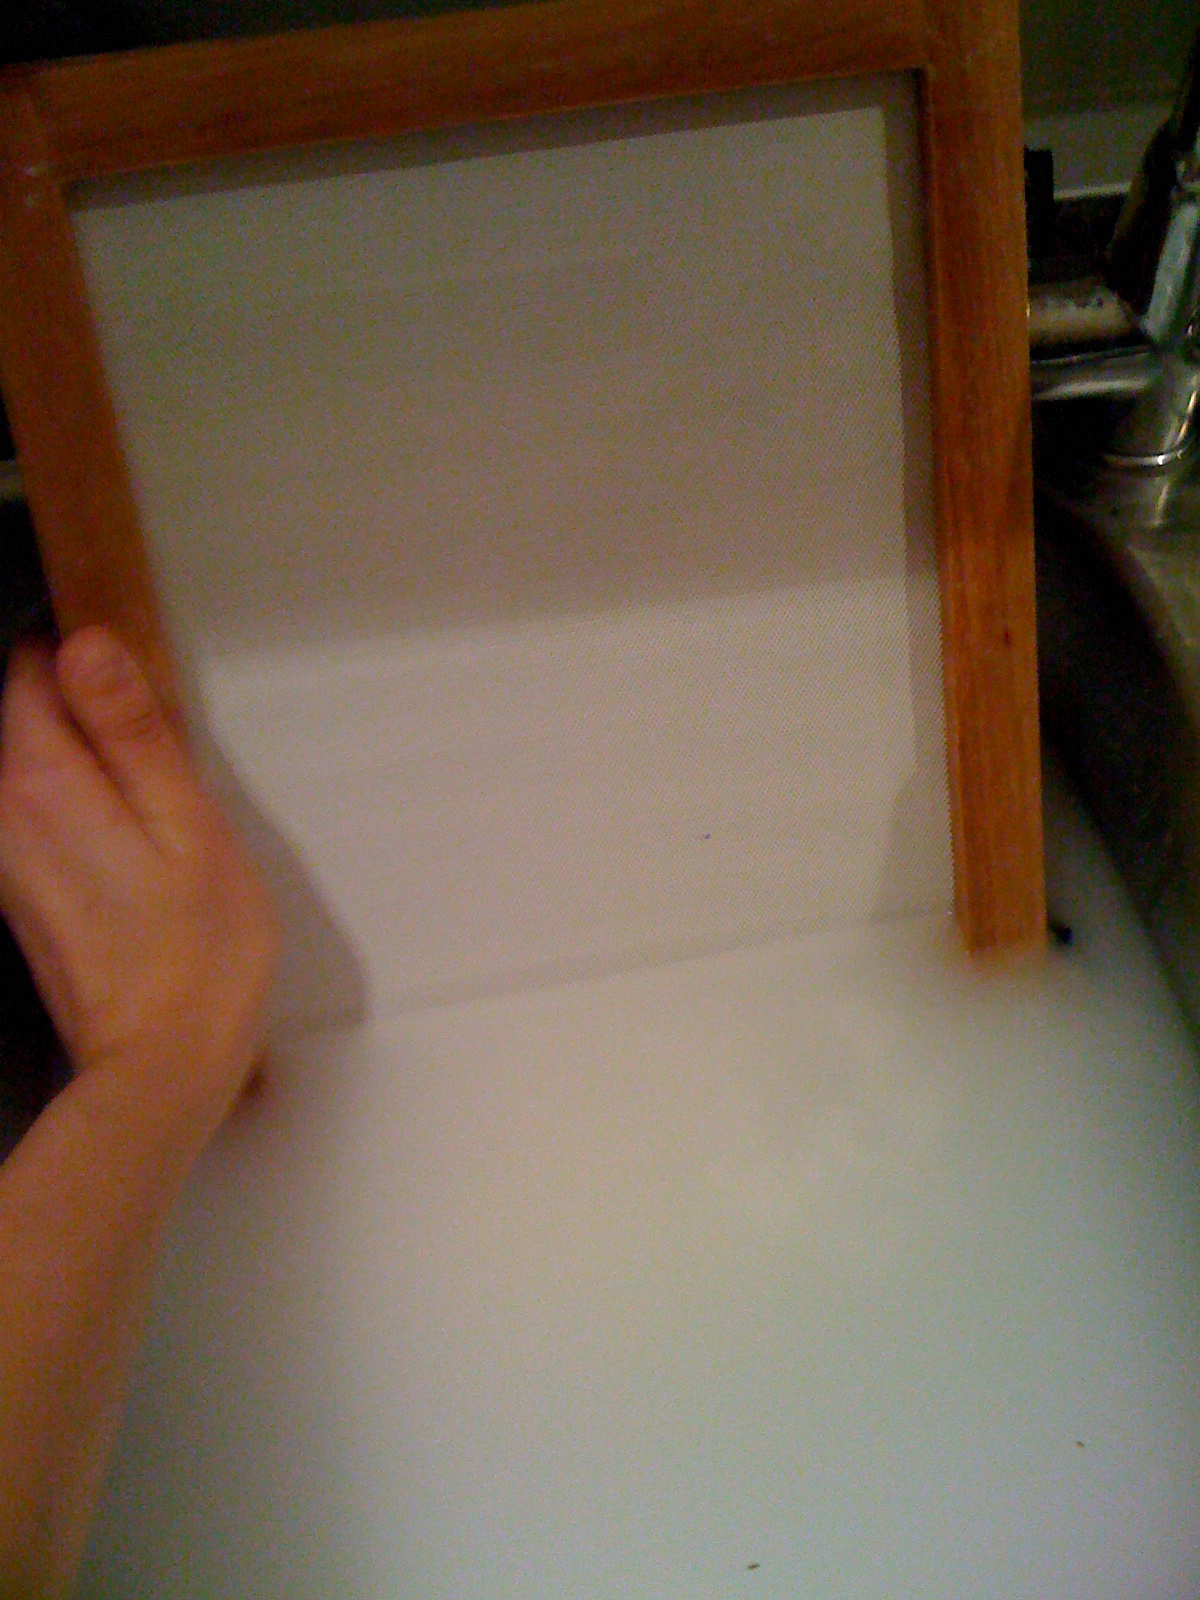
Place gauze between 2 wooden frames and hold at 90 degrees to the water.  Slowly scoop the frame under the water.


Bring frame to the surface keeping it flat and wiggling slightly to even out pulp.


Lie on a flat surface and open up frame to release gauze.  (no picture for the next bit sorry)  Place towel on floor followed by gauze removed from frame pulp facing upwards, cover with drying board and something flat like a book or chopping board.  Stand on the board for around 10 seconds.


Peal away drying board from gauze, the pulp should stick to the board.


Leave to dry overnight


Hope this makes sense, if you want to know any more please let me know :-)


Saturday 22 January 2011

Shopping for Inspiration


Went shopping today in bury and instead of clothes managed to find inspiration for my current project.  This glass bowl in Debenhams creates really lovely shadows.


Apologies about quality of picture only had my phone on me at the time.

Alastair Jubbs

Dedicating this one to my boyfriend who was named a L'oreal ID artist yesterday. WELL DONE!!


Alastair works for Gloss Salon in Diss.  Below is an image showing the look he used to get through.

Friday 21 January 2011

Paper Weaving

IMG_3601.jpg

Attempt 2 of paper weaving, the paper is actually grey inside to create a greater contrast between light and shadow.

Thursday 20 January 2011

Paper Cutting Workshop


Images created in cutting workshop at university last week, I am really happy with the outcome :-)

The final image is my favourite, the different amounts of layered paper let different amounts of light travel through.

Paper Cutting Project 1


Some examples of my work as I am just starting out at NUCA, most of my work is about paper cutting, layering and light/shadow.

The first image is a cutting created from an observation of Elm Hill Norwich.  After I had more of these cut outs I layered them up and created patterns by cutting out some of the shapes created and relplicating them